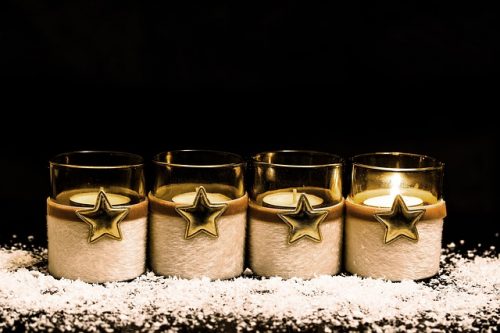
七夕の笹飾りといえば、短冊とお星さまですね。
折り紙でつくる星といってもいろいろな作り方あるの知っていましたか?
それに同じ作り方の星でも配色やつなげ方によっていろんなバリエーションもつくれます。
そんなお星さまの簡単おしゃれな作り方をお伝えします。
七夕飾り【星】の作り方
■基本の【星】の作り方
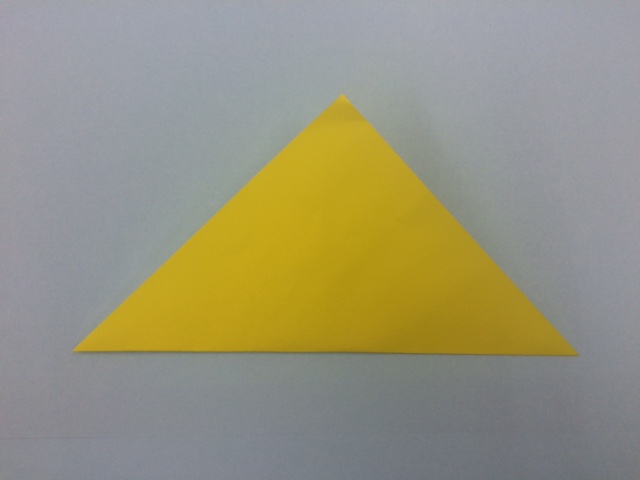
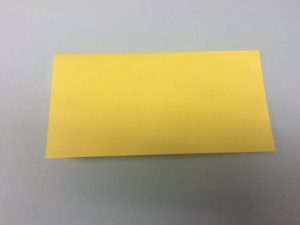
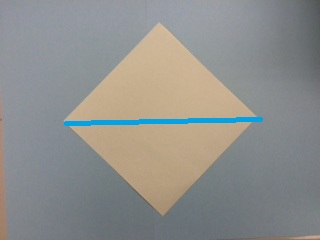
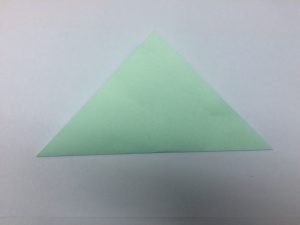
①折り紙を半分の山型に折る
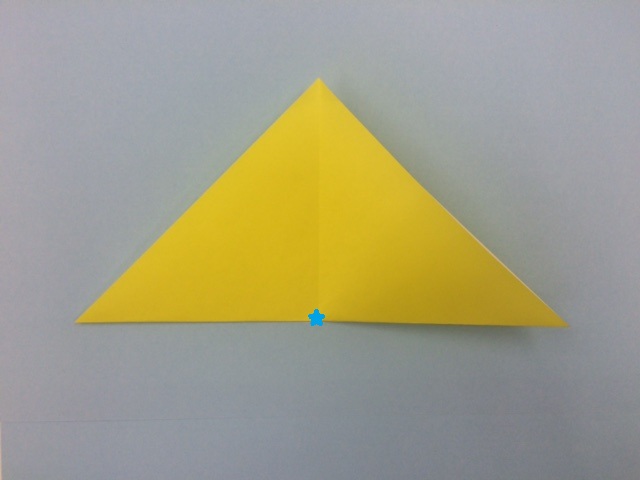
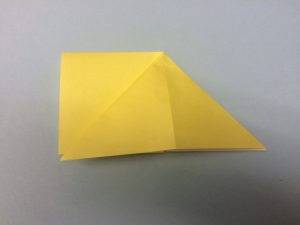
②それを半分に折り真ん中を確認する
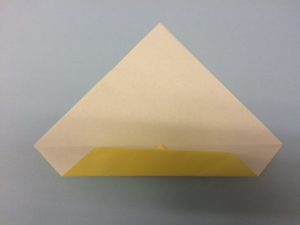
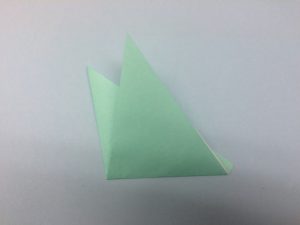
③そこから5分の1の部分が残るように折る
④折った部分をさらに半分に折る
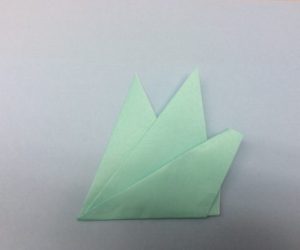
⑤そのまま巻き込むように折る
※この時、最後に折り紙が余ったりして合わなかった場合は③からやり直して微調整してください。
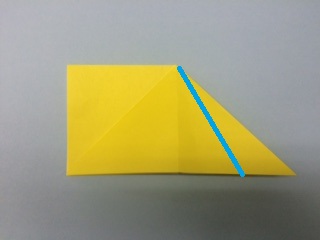
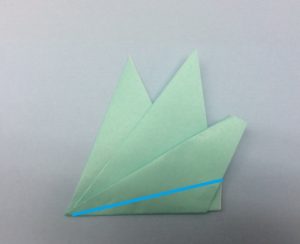
⑤これを線のように斜めにはさみで切りおとす
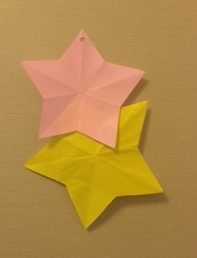
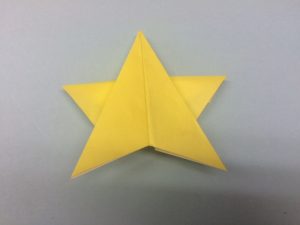
開けるとお星さまの完成です!
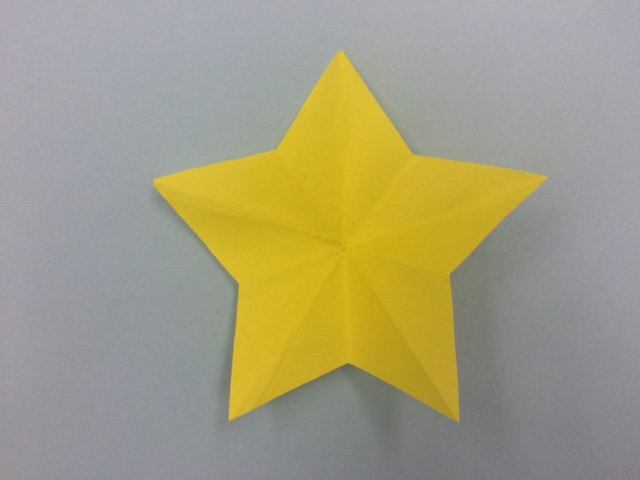
この星は何でも使えるので覚えておいてください。
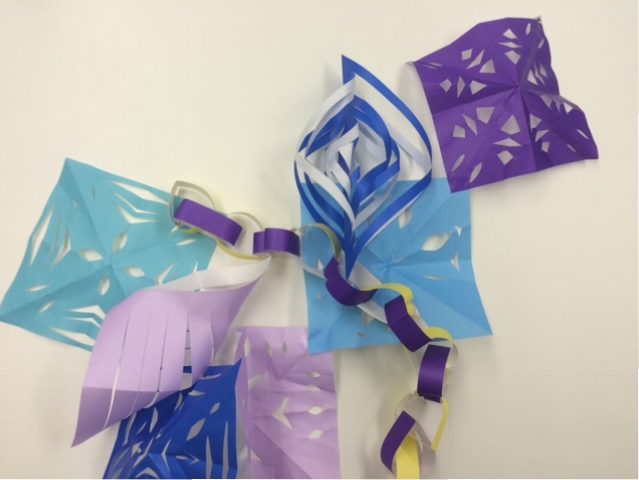
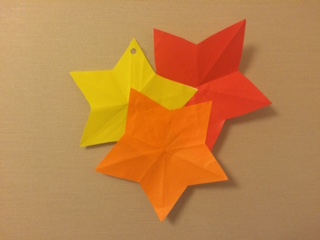
色の違う星を何個も作ってつなげると素敵な七夕飾りになりますね。
■切らずににつくる【星】の作り方Ⅰ
①折り紙を横に半分に折り、さらに半分に折る

②片方をひろげる

③半分に折りかえす
④逆の方を広げる
裏返すとこんな感じになっています
⑤上にめくる
⑥このように折る
反対側も同じように折りかえす
裏返して完成です!
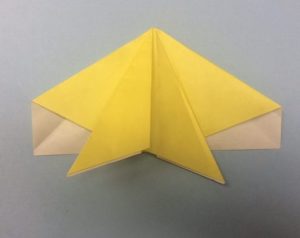
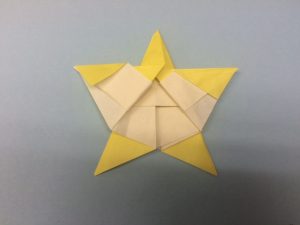
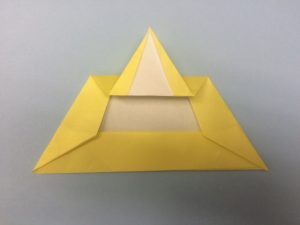
■切らずににつくる【星】の作り方Ⅱ
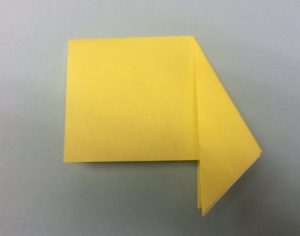
①折り紙を線のように半分におって折り目をつける
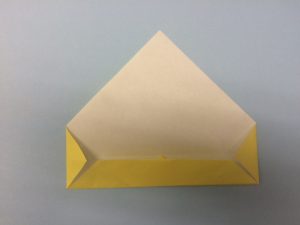
②その線に向かって三角におりさらにそれを半分に折る

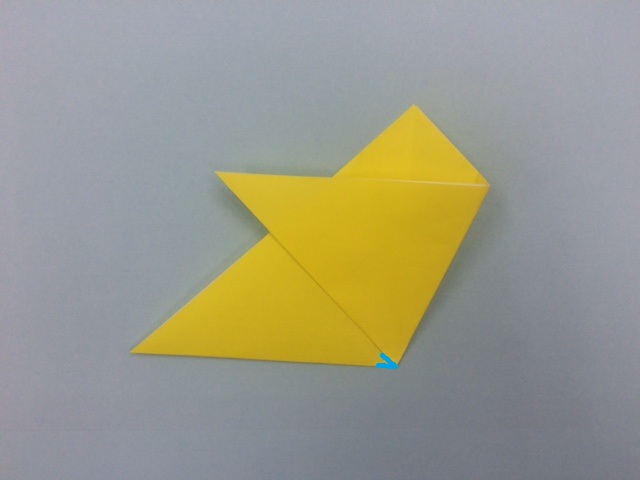
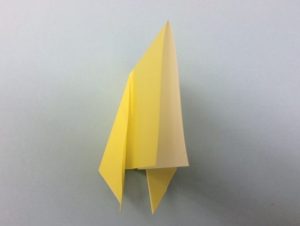
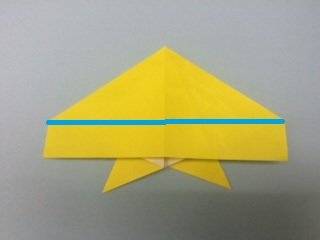
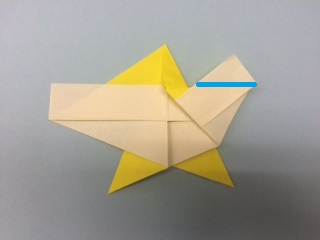
③両端を三角に折る
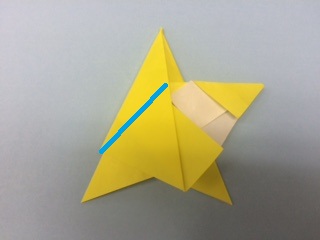
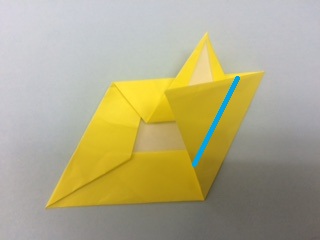
④線の部分を折る
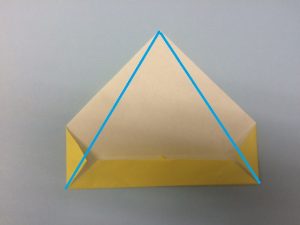
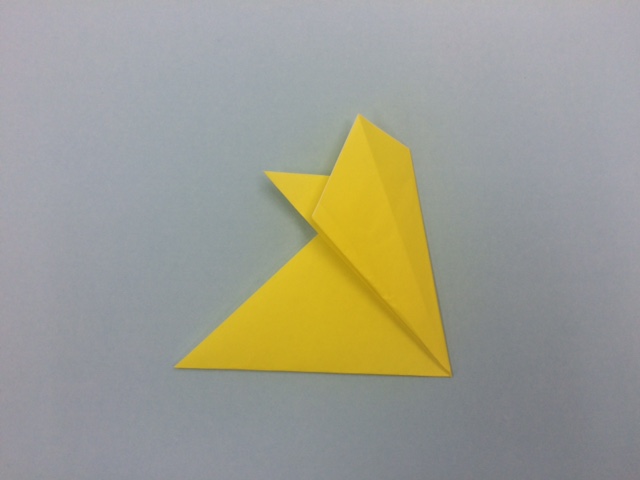
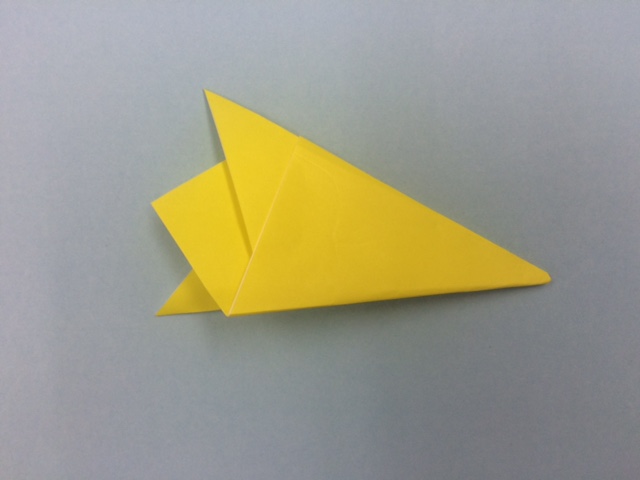
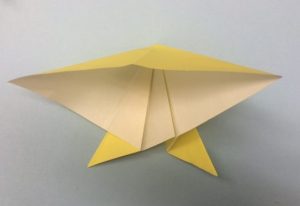
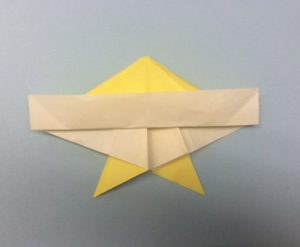
⑤三角の頂点を下の辺に合わせて半分にそれを更に折り返す
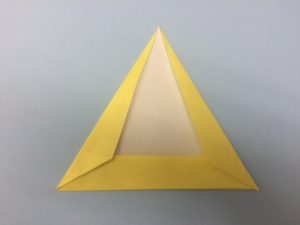
左右も同じように折っていく
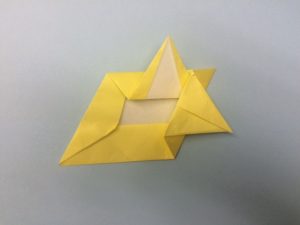
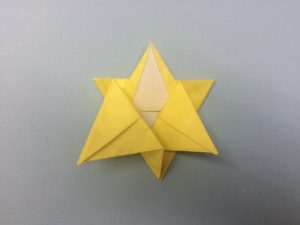
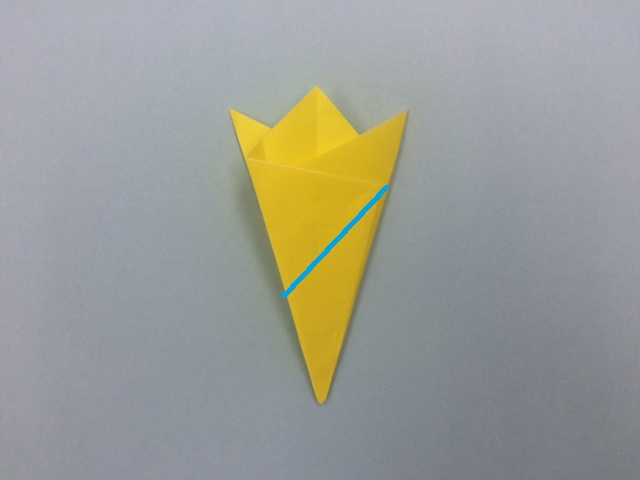
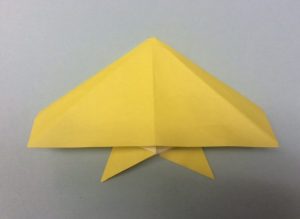
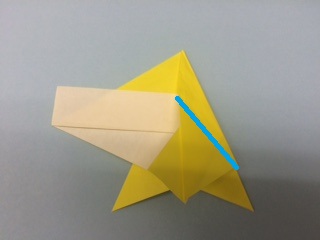
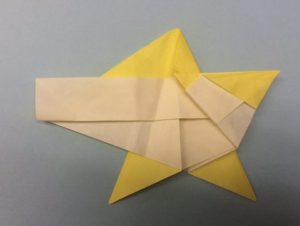
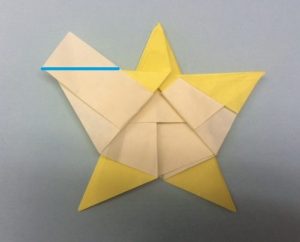
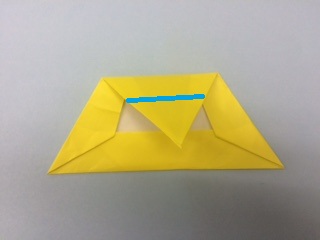
⑥重なる部分を交互に入れ込んでいく
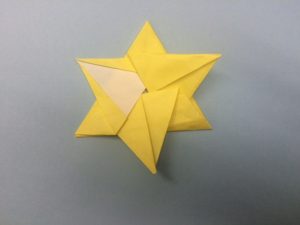
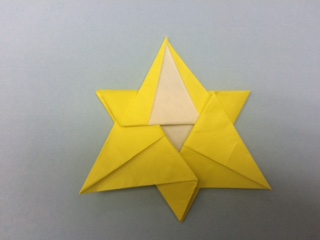
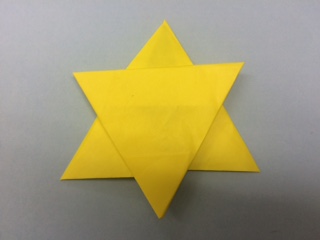
裏返すと完成です!

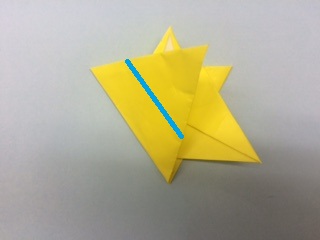
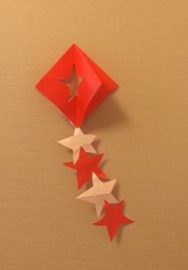
■【星】の尾の作り方
①山形に半分に折ります
②少しずらして折る
③さらにずらして折ります
④最後は逆の方に折り返します
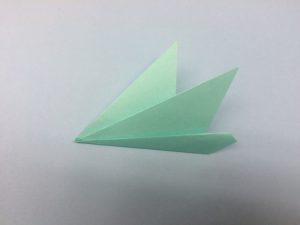
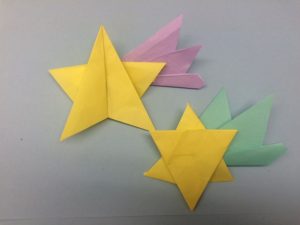
先ほどのⅠ・Ⅱの【星】につけてるとこんな感じに流れ星の出来上がりです
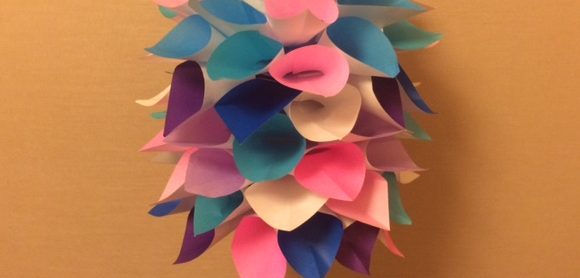
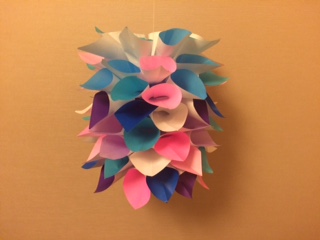
七夕飾り折り紙で簡単豪華な【くす玉】の作り方!注目度も抜群!
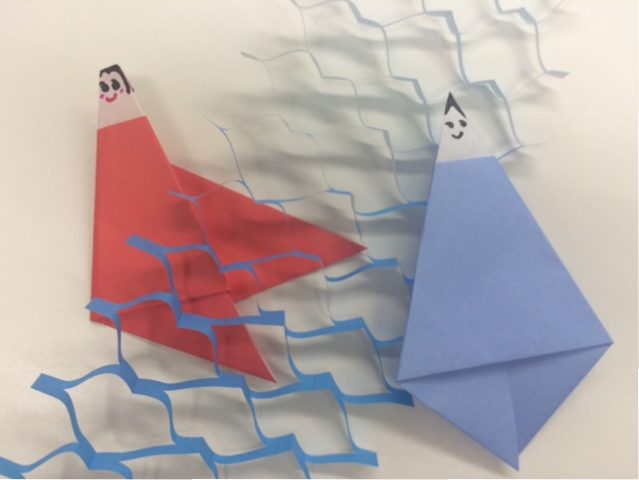
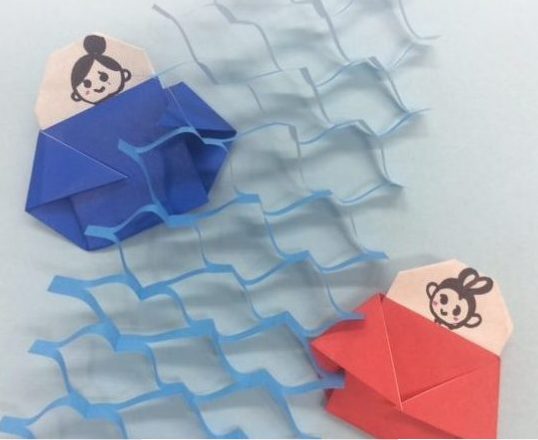
七夕飾り【織姫・彦星】の作り方!【天の川】を折り紙で伝説完成!
七夕飾り折り紙で子供も簡単【投網】【提灯】【吹き流し】の作り方
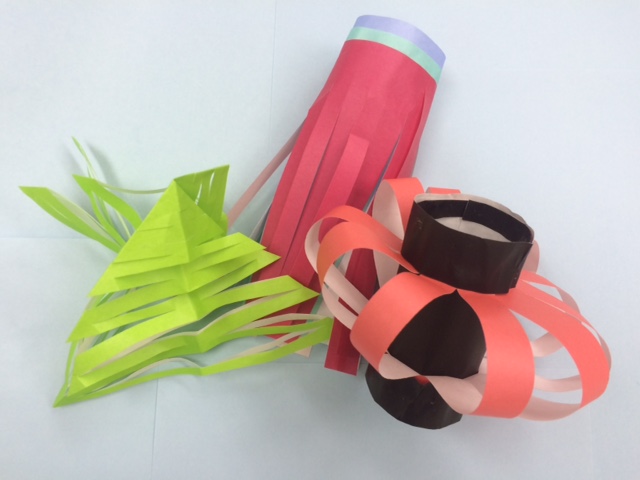
七夕飾り折り紙で簡単【星の吹き流し】【着物】【笹の葉】の作り方
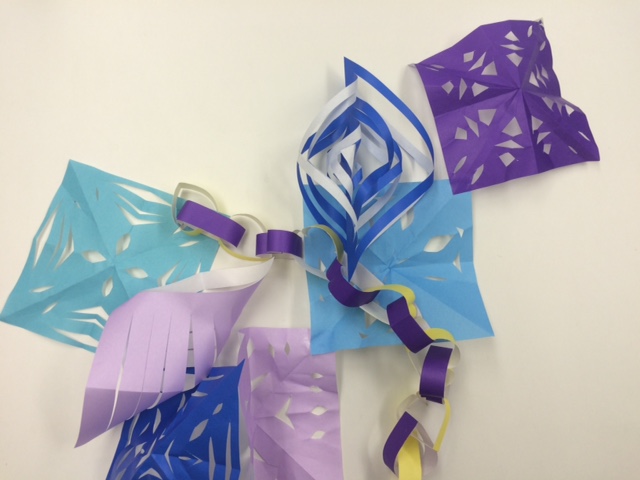
七夕飾り折り紙でおしゃれ【貝飾り】【輪飾り】【菱飾り】の作り方
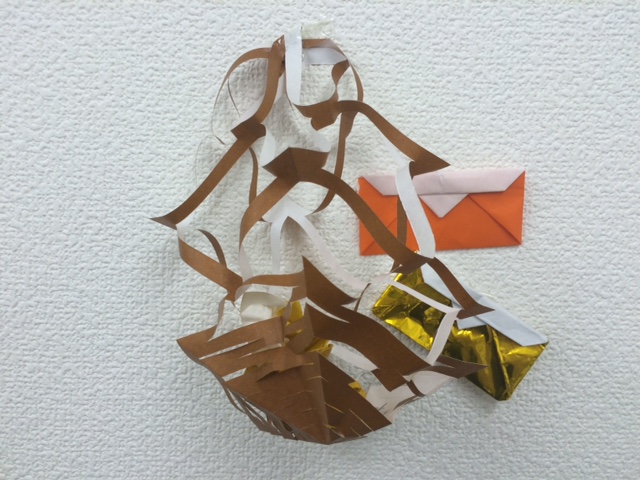
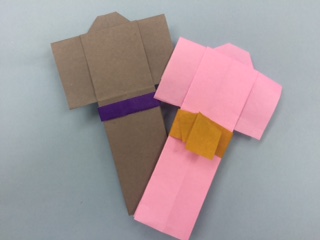
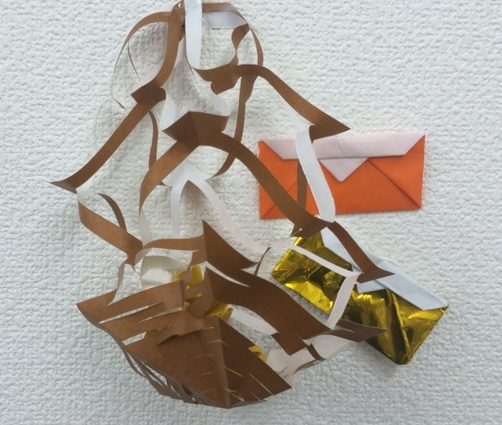
七夕飾り【屑籠】【財布】の簡単な作り方財力アップの必須アイテム
ま と め
折り紙でお星さまをつくられたことはみなさん多いと思います。
【星】の作り方はいろいろあるので今までつくったことのない作り方のお星さまに是非挑戦して一味ちがった七夕のお飾りを作ってみてくださいね。
七夕にこどもとたのしむ織姫彦星伝説、笹竹に短冊をかざる意味は?
七夕飾りはいつからいつまで飾るべき?笹や短冊の捨て方・処分方法